トップページの作成とログイン機能の追加
はじめに
今回はトップページの作成とログイン機能、ログアウト機能を実装します。
トップページの作成
トップページを作るにあたってrenderについて確認します。
Djangoではrequestオブジェクトを受け取ってresponseオブジェクトを返します。このときのresponseオブジェクトの作成にrender関数を使います。
では、book/urls.pyに以下の記述をします。
from django.urls import path
from . import views

urlpatterns = [
    path('', views.index_view, name='index'),
    path('book/', views.ListBookView.as_view(), name='list-book'),
    path('book/<int:pk>/detail/', views.ListBookView.as_view(), name='detail-book'),
    path('book/create/', views.CreateBookView.as_view(), name='create-book'),
    path('book/<int:pk>/delete/', views.DeleteBookView.as_view(), name='delete-book'),
    path('book/<int:pk>/update/', views.UpdateBookView.as_view(), name='update-book'),
]
次にbook/views.pyに以下の記述をします。
from django.shortcuts import render
from django.urls import reverse_lazy
from django.views.generic import (ListView, DetailView, CreateView, DeleteView, UpdateView, )
from .models import Book

# Create your views here.
def index_view(request):
    return render(request, 'book/index.html',{'somedata':100})

class ListBookView(ListView):
    template_name = 'book/book_list.html'
    model = Book

class DetailBookView(DetailView):
    template_name = 'book/book_detail.html'
    model = Book

class CreateBookView(CreateView):
    template_name = 'book/book_create.html'
    model = Book
    fields = {'title', 'text', 'category'}
    success_url = reverse_lazy('list-book')

class DeleteBookView(DeleteView):
    template_name = 'book/book_confirm_delete.html'
    model = Book
    success_url = reverse_lazy('list-book')
ここで追加した
def index_view(request):
    return render(request, 'book/index.html',{'somedata':100})
について、返り値の第一引数のrequestは必ず入れます。次の第二引数はファイルを指定します。第三引数はデータを指定します。今回は100を表示させます。左のsomedataは辞書のキーの部分で、右の100はバリューです。
ここからはindex.htmlを用いてブラウザ上データを表示させます。まず、index.htmlを新規作成します。
touch book/templates/book/index.html
作成した、book/templates/book/index.htmlに以下を記述します。
{{ somedata }}
||>

この、somedataは先程述べたようにviews.pyのrender関数で設定したキーを表しており、ブラウザ上での出力は100となります。


ここまではfunction-based viewの流れについて作成していましたが、ここからはviewとModelを連携させます。
book/views.pyのindex_view関数を以下のように変更します。
>|python|
def index_view(request):
    object_list = Book.objects.all()
    return render(request, 'book/index.html',{'object_list': object_list})
新たにobject_listを設定しました。これは、.allとなっているように、Bookテーブルにある全てのobjectsを表しています。
また、キーとバリューのところもobject_listという名前で呼び出せるようにしました。
更に、Book.objects.all()のall()の部分をorder_by('catefgory')やorder_by('title')とするとカテゴリーやタイトル順で一覧の並び替えができます。
views.pyの記述が終われば、book/templates/book/index.htmlを以下のように変更します。
{% extends 'base.html' %}

{% block title %}書籍一覧{% endblock %}
{% block h1 %}書籍一覧{% endblock %}

{% block content %}
    {% for item in object_list %}
    <div class="p-4 m-4 bg-light border border-success rounded">
        <h2 class="text-success">{{ item.title }}</h2>
        <h6>カテゴリー: {{ item.category }}</h6>
        <div class="mt-3">
            <a href="{% url 'detail-book' item.pk %}">詳細へ</a>
        </div>
    </div>
    {% endfor %}
{% endblock content %}
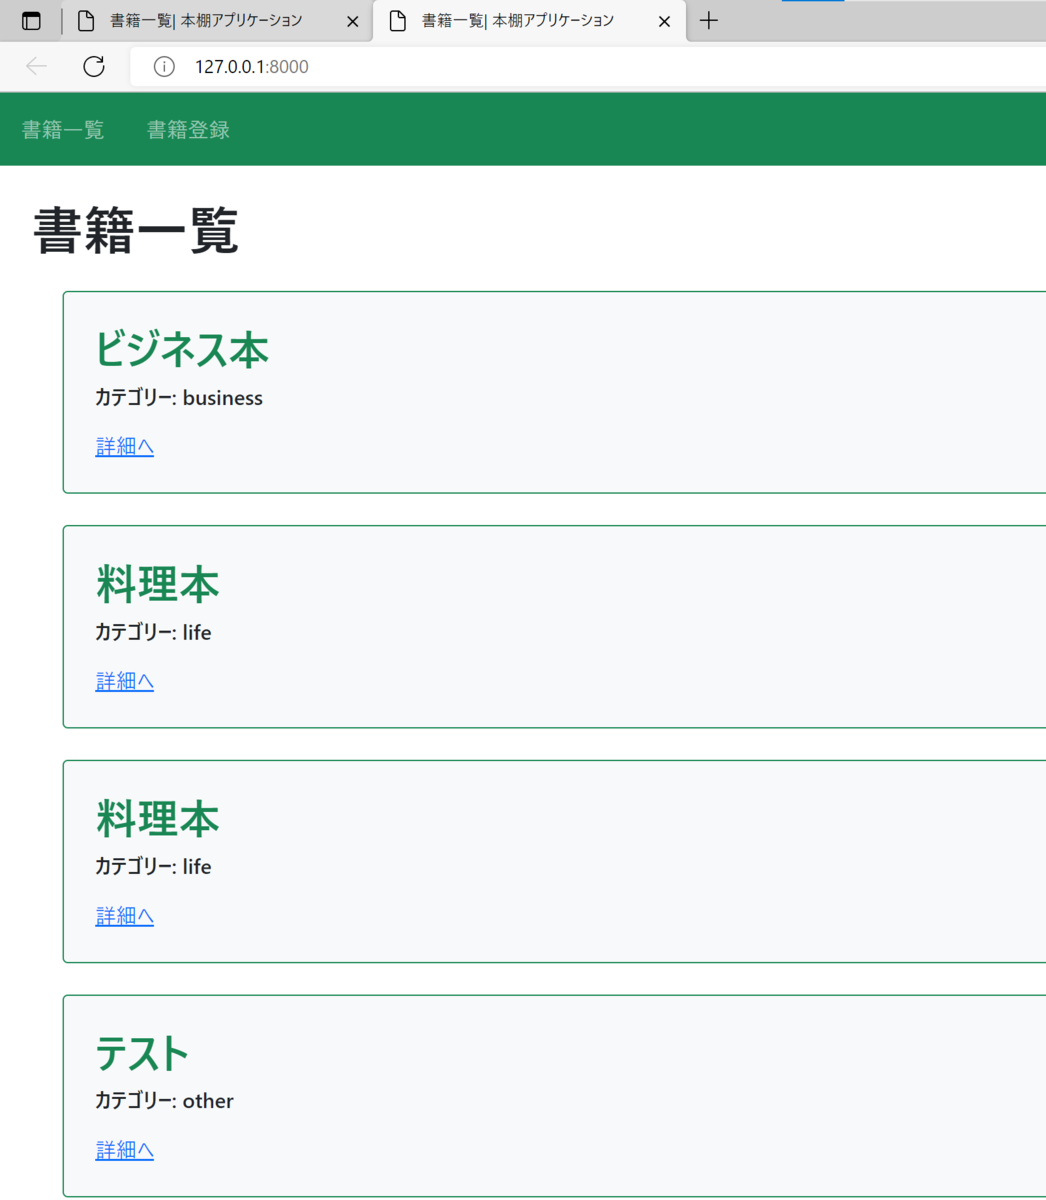
これでサーバーを立ち上げ、127.0.0.1:8000/にアクセスします。前回127.0.0.1:8000/book/にあったページがトップページとして表示されます。
ログイン、ログアウト機能の追加
ログイン機能
ログイン機能の実装には、フォームに入力されたユーザー名とパスワードがデータベースにあるユーザーの情報と一致しているかを照合し、一致しているユーザーのみログインさせる必要があります。
ログイン機能はDjangoでサポートされている認証のViewを呼び出すことで使えます。呼び出しにはauthアプリケーションのurls.pyを呼び出します。
呼び出すためにbookproject/urls.pyに以下を記述します。
from django.contrib import admin
from django.urls import path, include

urlpatterns = [
    path('admin/', admin.site.urls),
    path('accounts/', include('accounts.urls')),
    path('', include('book.urls')),
]
これによりaccounts/というurlをrequestすることでauthアプリケーションのurls.pyを呼び出すことができます。
ここまででログイン機能のやり方はできましたが、ログイン画面のviewは作っていません。これは127.0.0.1:8000/accounts/login/にアクセスすると呼び出されるviewになります。
ログイン画面のviewを以下のように作成します。
mkdir temprates/registration
touch templates/registration/login.html
作成したtemplates/registration/login.htmlに以下の記述をします。
{% extends 'base.html' %}

{% block content %}
    <h1>ログイン</h1>
    <form method="post" class="p-4 m-4 bg-light border border-success rounded form-group">
        {% csrf_token %}
        {% for error in form.errors.values %}
            {{ error }}
        {% endfor %}
        <label>
            ユーザ ID
        </label>
        <input class="form-control" name="username">
        <label>
            パスワード
        </label>
        <input type="password" class="form-control" name="password">
        <button type="password" class="btn btn-success mt-4">ログインする</button>
    </form>
{% endblock %}
これでサーバーを立ち上げ127.0.0.1:8000/accounts/login/にアクセスします。すると以下のような画面が表示されます。

ただ、ログインしようとするとエラーがでます。
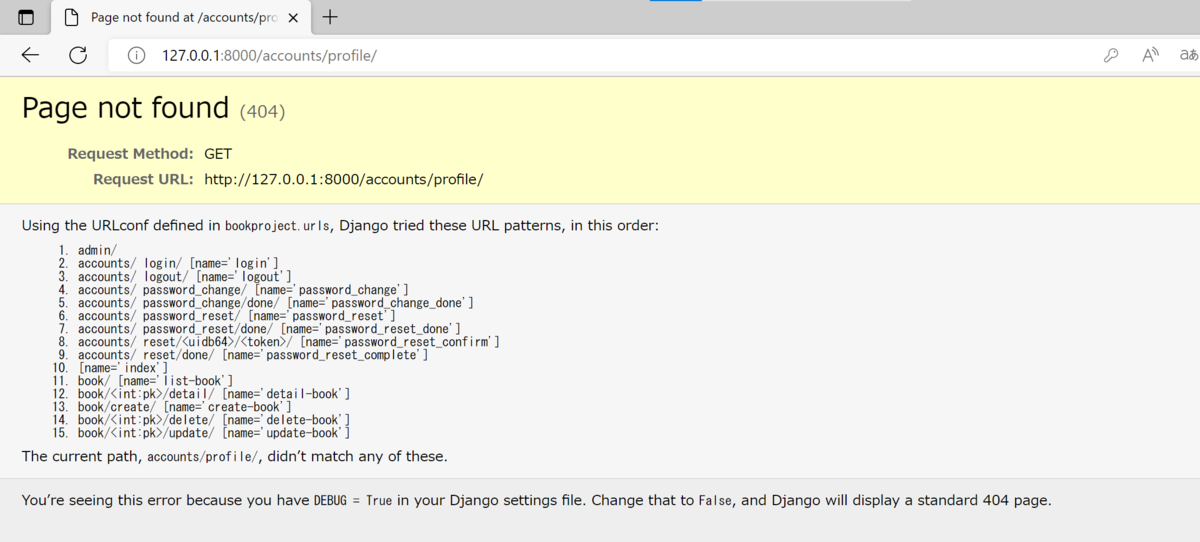
ログインするとaccounts/profile/というurlにアクセスするような設定になっているのに、urlの設定をしていないのでエラーがでました。
解決のためにbookproject/setting.pyに以下の記述を追加します。
LOGIN_REDIRECT_URL = 'list-book'
これでログインすると書籍一覧のページが表示されます。
ログアウト機能
まずはbook/urls.pyに以下の記述をします。
from django.urls import path
from . import views

urlpatterns = [
    path('', views.index_view, name='index'),
    path('book/', views.ListBookView.as_view(), name='list-book'),
    path('book/<int:pk>/detail/', views.ListBookView.as_view(), name='detail-book'),
    path('book/create/', views.CreateBookView.as_view(), name='create-book'),
    path('book/<int:pk>/delete/', views.DeleteBookView.as_view(), name='delete-book'),
    path('book/<int:pk>/update/', views.UpdateBookView.as_view(), name='update-book'),
    path('logout/', views.logout_view, name='logout'), # 追加
]
また、book/views.pyにも以下の記述をします。
from django.shortcuts import render, redirect
from django.contrib.auth import logout
from django.urls import reverse_lazy
from django.views.generic import (ListView, DetailView, CreateView, DeleteView, UpdateView, )
from .models import Book

# Create your views here.
def index_view(request):
    object_list = Book.objects.order_by('category')
    return render(request, 'book/index.html',{'object_list': object_list})

def logout_view(request):
    logout(request)
    return redirect('index')

class ListBookView(ListView):
    template_name = 'book/book_list.html'
    model = Book

class DetailBookView(DetailView):
    template_name = 'book/book_detail.html'
    model = Book

class CreateBookView(CreateView):
    template_name = 'book/book_create.html'
    model = Book
    fields = {'title', 'text', 'category'}
    success_url = reverse_lazy('list-book')

class DeleteBookView(DeleteView):
    template_name = 'book/book_confirm_delete.html'
    model = Book
    success_url = reverse_lazy('list-book')

class UpdateBookView(UpdateView):
    template_name = 'book/book_update.html'
    model = Book
    fields = {'title', 'text', 'category'}
    success_url = reverse_lazy('list-book')
これでサーバーを立ち上げ、127.0.0.1:8000/logout/にアクセスします。アクセスするとトップページが表示され、ログアウトできているかの確認には管理画面にアクセスします。ユーザー名とパスワードを求められたらログアウトできています。
つぎにトップページにログイン、ログアウトするためのリンクを付けます。リンクはbase.htmlで作成したnavbarに追加します。
<!doctype html>
<html lang="en">
  <head>
    <!-- Required meta tags -->
    <meta charset="utf-8">
    <meta name="viewport" content="width=device-width, initial-scale=1">

    <!-- Bootstrap CSS -->
    <link href="https://cdn.jsdelivr.net/npm/bootstrap@5.0.2/dist/css/bootstrap.min.css"
    rel="stylesheet" integrity="sha384-EVSTQN3/azprG1Anm3QDgpJLIm9Nao0Yz1ztcQTwFspd3yD65VohhpuuCOmLASjC"
    crossorigin="anonymous">

    <title>{% block title %}{% endblock title %}| 本棚アプリケーション</title>
    </head>
    <body>
      <nav class="navbar navbar-dark bg-success sticky-top">
        <div class="navbar-nav d-flex flex-row">
          <a class="nav-link mx-3" href="{% url 'list-book' %}">書籍一覧</a>
          <a class="nav-link mx-3" href="{% url 'create-book' %}">書籍登録</a>
        </div>

        <div class="navbar-nav d-flex flex-row">
          {% if request.user.is_authenticated %}
            <a class="nav-link mx-3 href={% url 'logout' %}">ログアウト</a>
          {% else %}
            <a class="nav-link mx-3 href={% url 'login' %}">ログイン</a>
          {% endif %}
        </div>
      </nav>
      <div class='p-4'>
        <h1>{% block h1 %}{% endblock %}</h1>
        {% block content %}{% endblock content %}
      </div>
    </body>
</html>
新たに追加した、{% if request.user.is_authenticated %}はユーザーがログイン状態かを判定しています。
おわりに
今回は本棚アプリケーションのトップページとログイン、ログアウト機能を追加しました。
はじめの方に登録したユーザー名とパスワードを使ってログイン、ログアウトをするのはアプリケーションを作る上で大切です。